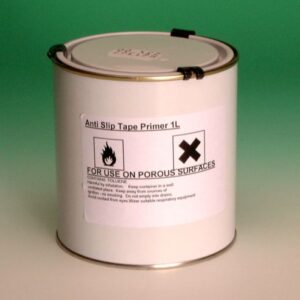
Surface Preparation
Ensure that the area is clean, dry and free from loose material. Safety Edge should be cut in a well ventilated area or close to extraction points. Dust residue can be disposed of using normal waste disposal methods. Any “dished” or damaged surface areas should be patch repaired to provide a reasonably flat and consistent surface, GRP Adhesive Mastic will take up minor undulations and imperfections.&
If application is too damp, dirty or friable surfaces or in very cold weather, use FixMaster Adhesive Mastic to bed the GRP item into place and then always screw fix. Screw fixings are generally made at about 600mm intervals. Drilling through the GRP is easy using a standard twist drill suitable for wood or metal. Countersinking is not required.
If you need to cut the GRP product, a good quality abrasive disc, jigsaw or hacksaw can be used. The GRP material is quite tough to cut by hand, so if power tools are not readily available, please ask about our cut to size service.
If appearance is critical we recommend the application of a small trial area first.
Fixings
If mechanical fixing is required, the following may be used as a guide:
- To timber: No.8 x 30mm zinc plated or stainless steel screws.
- To steel plate: No.8 x 20mm self-tapping pan head Pozi stainless steel screws or No.8 x 20mm self drilling pan head Philips zinc plated screws.
- To concrete: No.8 x 30mm zinc plated or stainless steel impact anchors (Hilti HPS-1 or similar).
- To open mesh: Stainless steel or zinc plated saddle clips and domed head bolts suitable in length for the depth of the existing treads.
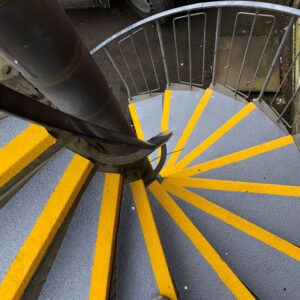
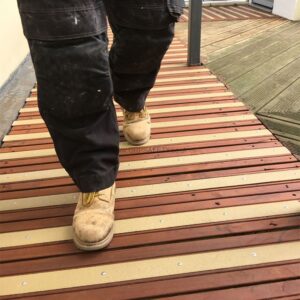
Application
Dry fit all Safety Edge profiles to ensure they fit freely and that they sit flat down on the surface. If required, Safety Edge can be trimmed on site to suit, ideally using a hacksaw or an angle grinder with a 1mm standard metal blade. Please ensure that goggles and gloves are worn at all times when any form of cutting is involved. We recommend a double fixing method for installing the Safety Edge. This consists of an appropriate high strength GRP Adhesive Mastic and GRP screws.
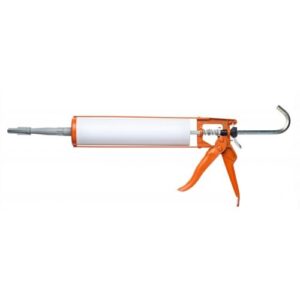
All substrates: Apply a 6mm bead of the GRP Adhesive Mastic around the edge of the underside of the nosings, approx. 25mm in from the edges. Then apply the mastic in a zig zag pattern across the whole length of the nosing. Immediately press the panel firmly to the substrate to ensure adequate transfer of adhesive. Secure with mechanical fixings, as below.
Screw fixing: Hold the GRP in place and drill holes approximately 50mm in from each edge and thereafter at approximately 300–400mm intervals through the panel and into the substrate. A rawl plug will probably be required in a concrete base. Dependant on the substrate it may be necessary to increase or decrease this spacing.


Reviews
There are no reviews yet.